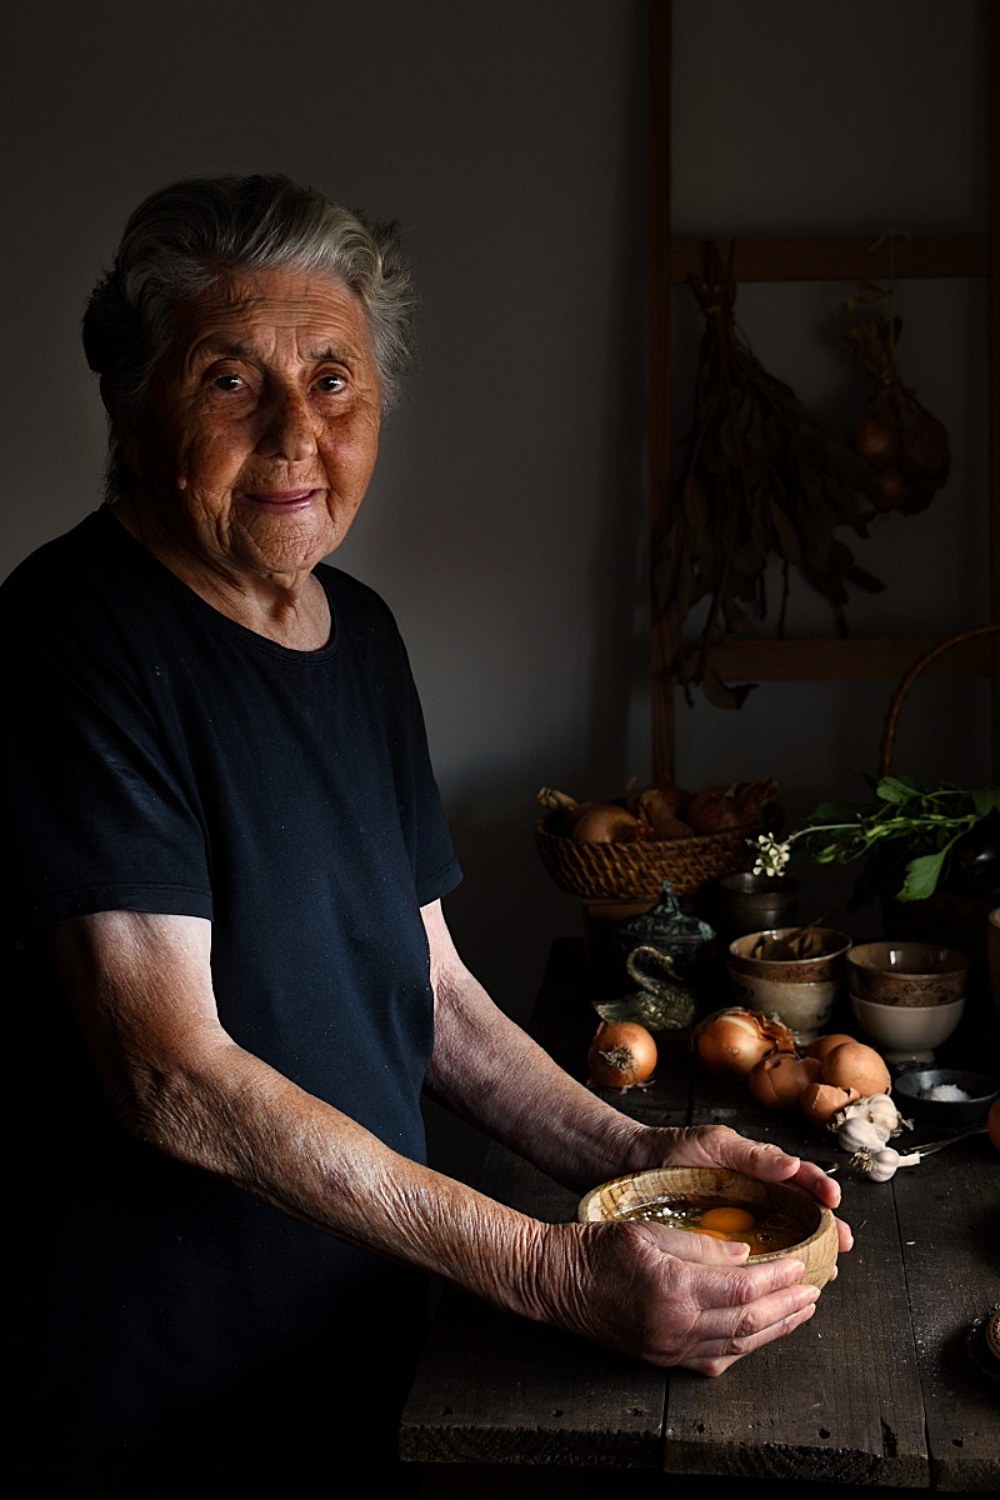
Happy New year everyone! I hope and pray that you all had a great start to 2023.

I am super excited to introduce one of my favorite food and
lifestyle photographer, Seema Rose. I have always been fascinated by her style
of uplifting storytelling using the right mood, light, textures and
composition. Her pictures are magnificent that gives a different perspective
each time I look at them. She brings out the magic of every food, makes it
look mouth-watering and portray an amazing story at the same time. I have personally
witnessed her growth over the past two years, and she has proven that
photography is an art by itself. Her work is poetic and evokes abundance of
life.
Let’s hear more from Seema as she shares her inspiration and
journey as a photographer. Have a look at her brilliant work before you read the interview.
 |
| Autumn Tea |
 |
| Zest Shot |
 |
| Breakfast Scene |
 |
| Moody Panettone |
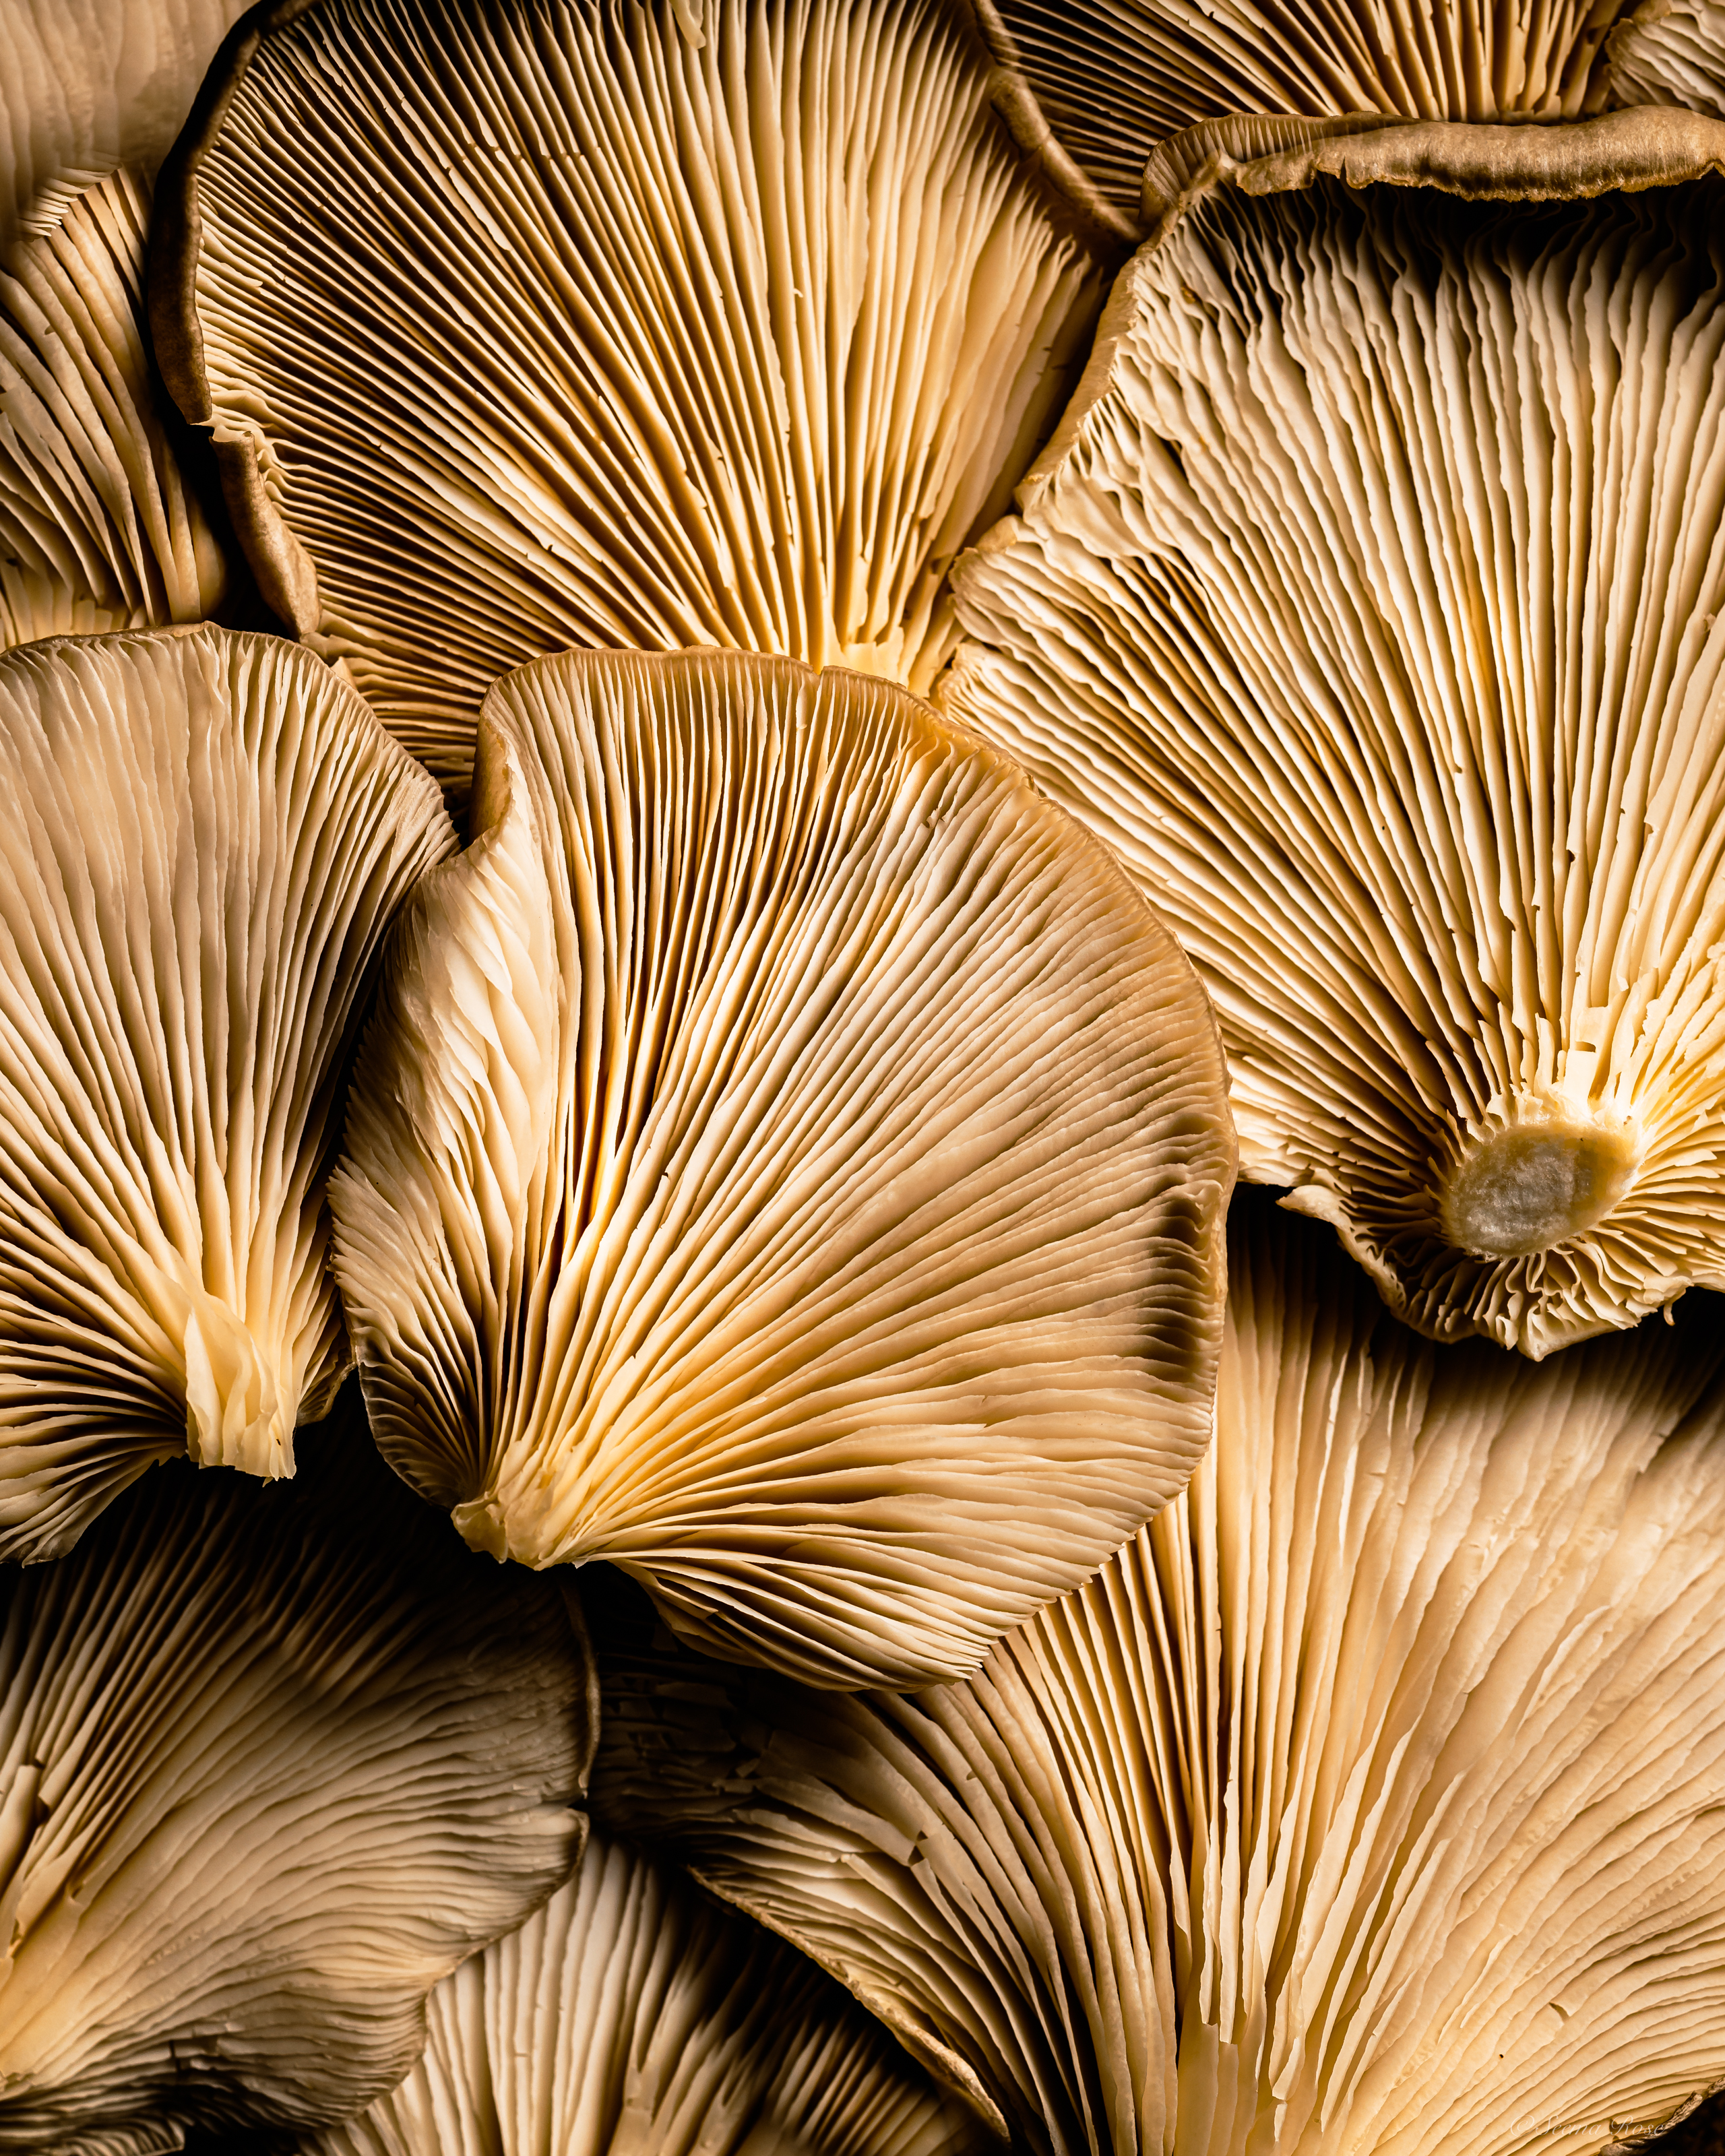 |
| Mushroom Macro |
· A brief about yourself
Hi, my name is Seema Rose. I am a food & lifestyle
photographer based in Dubai.
• How did your journey as a
photographer begin? Did you have any formal training or is it self-taught?
My food & creative journey is a long one but my photography
started just 2 years ago. I have been in advertising for most of my life and
thoroughly enjoyed the creative process. The part I did not enjoy was the
corporate politics around it. In 2020, I lost a job I’d loved very much, which
was a blow. It changed everything for me. After the initial shock, I gathered
myself and thought hard about where I wanted to go from there. My family has
been my rock and I wouldn’t have survived without their and my friends’
support. I love to cook & bake and started focusing on that more. I even
started baking on order, but knew that I did not want to go commercial, as I just
wanted to enjoy myself without any undue pressures. I started my Instagram page
and, thanks to its infamous algorithm, started being served food photography-
and that just blew my mind! I wanted my food to look that stunning. I spoke to
my husband about it and he suggested I try using an old Canon DSLR. That’s how
my food photography journey began. I started practising every day, but
struggled to get the picture I had in my head. I had the fire, hunger &
passion for photography, but just needed someone to guide me. This is when I
came across Eva Kosmas Flores’ Photography+Styling+Branding course and that was
a game changer for me. Around the same time, I came across Bea Lubas’ stunning
work and was hooked! She inspires me every day!
Once I was confident about my style, my gear, and such, I wanted
to expand my skills and learn to work with artificial lights. Who better to
learn from than Joanie Simon! Her “Artificial Academy” course helped me
immensely. Artificial lighting is especially useful with restaurant
photography, which I currently do.
What started as a hobby is now a full-blown passion for me - a
second birth almost. I create for myself all the time, now starting to do paid
assignments and enjoying that too.
• How
would you describe your style?
Over the course of my exploration into photography, I’ve attempted
a vast array of styles, themes and motifs. That being said, the one I
personally identify with the most is what I’d describe as dark and moody. I
prefer dramatic, moody shots with pops of colour. I love the mystery around it.
I never want to make my work seem depressing. I’ll always add elements to
brighten the feel of the shot, trying to emphasize certain subjects and tell a
story through my work and editing. Though this style speaks to me the most, I’m
constantly experimenting with new concepts and composition techniques. I find
it so much fun to play around with the camera and how I set up my shots. I feel
that doing so has helped me better my capabilities and made me fall deeper in
love with photography and just how vast and creatively diverse it can be!
 |
| Flaming Whiskey |
Inspiration & beauty is all around us - we just need to keep
an open mind and really “see” it. Nature is a big inspiration for me - the
colours of leaves & flowers, the way sunlight interacts with things, the
natural framing by trees - it’s all so fascinating. I love drawing inspiration
from seasons, though living in Dubai has its own challenges with that. Along
with that, I observe a few select photographers’ work and journey closely. It’s
interesting to imagine the thinking behind their work, which is something I try
to learn from and integrate into my process. Besides food photographers, I am
very much influenced by lifestyle & interior design photographers. There’s
so much to learn about the use of colours, light and styling!
Another thing I love to do is attend workshops & creative
retreats. It is extremely soul satisfying in my opinion. You get to meet
like-minded people, from whom you can learn so much.

• What is the most challenging aspect about your work?
Creativity is enriching, empowering & immensely satisfying. At
the same time, it can be exhausting, demanding and unpredictable. Sometimes,
it’s so difficult to bring your vision to life and that is frustrating! But
once you overcome that mental barrier, it is the most rewarding feeling. As Bea
Lubas says “Creativity is a muscle and we need to exercise it”, but overdoing
it can lead to adverse effects.
• What is your creative process like? and what keeps you motivated?
My mind is always on the lookout for new subjects and ideas that I
can play with. Sometimes I get an idea very late at night, or when I am in the
shower! I make it a point to jot down my thoughts before I forget. My process
kicks into gear as I bring that idea to life, clarifying all the details of
what I hope to achieve with this. I begin thinking about what emotions I want
to portray and what story I want to tell the viewer. I usually go on to think
of the colours I want to use, because colors play a big role in conveying the
story. I then think of the food I want to show, where shapes, textures, colours
come into play. Then, I focus on the angle of the shot, which helps me
determine what kind of light I want to use. Sometimes, I have more than one
angle in mind and could use both side light & backlight. This all leads me
to visualise the overall scene, with details like composition, styling, use of
props, etc. The magic is later amplified when it comes down to the editing.
This is pretty much the breakdown of my creative process.
Motivation comes from passion, and that is something that comes
from within. How much are we willing to invest in nurturing our soul, is a
question that only we ourselves can answer. Sure, there are a lot of peripheral
factors that also determine how motivated we are, but for the most part, this
is something that we have to draw from within.
• Is there
a capture that holds a special place for you? and why?
This is a tough one. It’s the proverbial “choosing your favourite
child” dilemma. Every one of my images has a story behind it and each one is
special to me. But I do feel that my images in which I have featured my
daughter are extra special - she adds something magical to my images❤️.
• Any tips or words of wisdom to aspiring photographers who want to pursue a similar Career.
When I started out, all I had was a burning desire to create, but
did not know how to do it. So I kept observing, absorbing, learning & practicing
with great passion. I was focused on my own development and never felt
intimidated by anyone else’s work. It was a joy to admire the beautiful work of
other creators. It is so important to not be overwhelmed by the progress of
others but to learn from them. We don't know what hardships they have gone
through to get to where they are. Everyone’s journey is different & unique.
Imposter syndrome is real and so prevalent, fuelled by Instagram’s lure for
greater numbers of likes & followers! It can destroy creativity and I urge
everyone to stay focused on their own journeys and organic growths. Look at
your own feed and see how far you have come. Pat yourself on the back for all
the sacrifices you have made and the hard work you put in to come this far.
Learning must never stop and progression is the only way forward, but that does
not mean you feel ashamed about your earlier work. If we had not created that,
we wouldn’t have learned and improvised to come this far. Please DO NOT focus
on likes & followers. Just create for yourself. When you focus all your
energies into making your own work the best you have produced yet, the outcome
has got to be positive. Nothing gives me more joy than creating for myself and
if you feel the same, I assure you, people will sit up and applaud your
work.